


So, after much research and thought, (and with the right recipe), the French macaron is not too difficult after all. At least, if you're not a perfectionist. My macarons did not turn out perfect, but for being my second try, I was happy with the results.
So, what changed my results from a flat frisbee, to a plump, ruffle-footed macaron? (See French Macarons: Part 1.) Here is my process of making the second batch and some things that I have learned while researching this cookie.
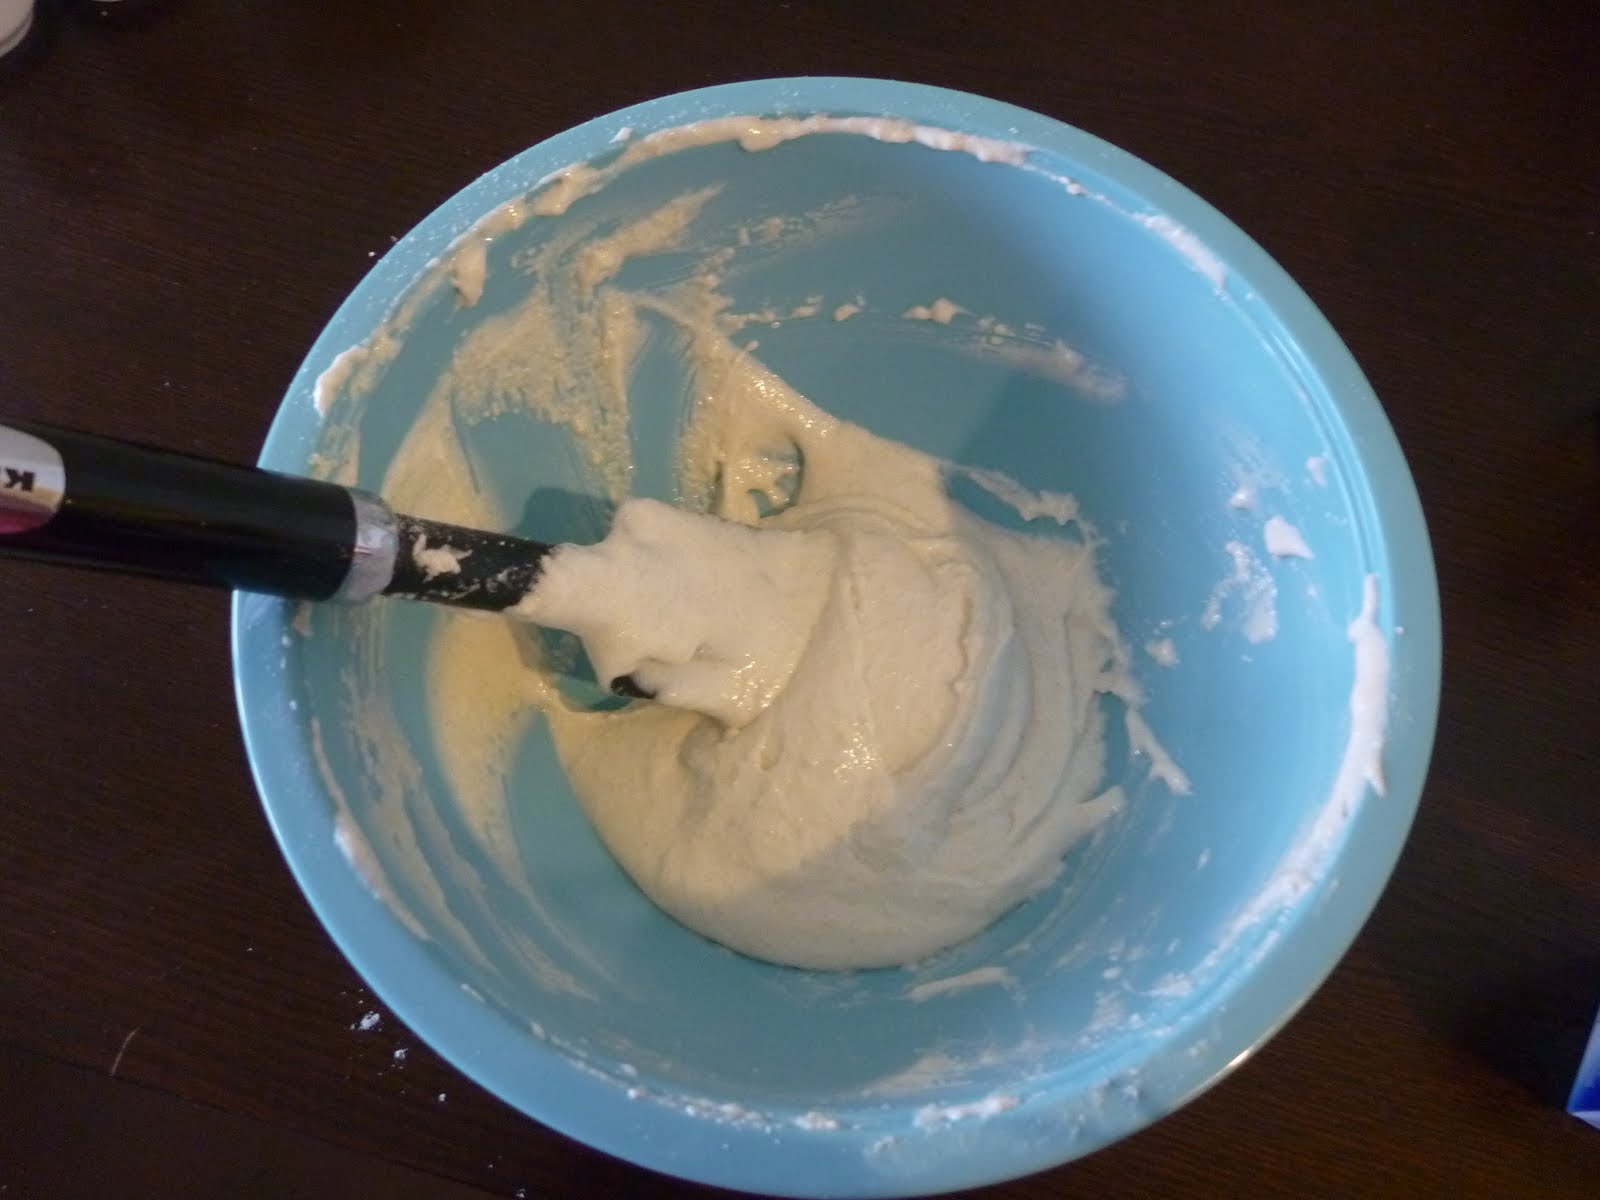
First off, I used an entirely different recipe. The first recipe, had you mix a wet almond flour mixture with the meringue. The second recipe I used, had you mix a dry almond flour mixture with the meringue. For some reason the dry mixture worked better. And I pulsed it in my food processor till the powdered sugar and almond flour became more uniform. This definitely helped make the batter more smooth. The recipe I used this time was from Martha Stewart in her January 2009 Magazine, which is attached at the end. This recipe worked out well because it gave better guidelines on how to whisk the meringue and what to look for. Though the timing was off, (I didn't need to beat the meringue for 8 minutes for it to become stiff and glossy) her directions helped me to get a much better meringue. The last time I made meringue, it was too weak. Which ruined the batter by making it very runny. The batter, once the flour mixture is incorporated, should be more of a wet cement, magma-like texture. It should coat the spatula thickly and flow off of it in a thick ribbon. The first time, the batter ran straight out of my pastry bag and tip and made it very hard to pipe out consistently. (Compare picture of piped batter with Part 1.) I had to pipe it out in spirals like a cream puff, instead of making large, circular dollops. So, the consistency of your meringue is very important to your success. Note: 1) Using older eggs and letting them sit unrefrigerated for a couple days should make a better meringue. I used two-week-old eggs that I had left out for two days. The meringue turned out great. 2)while folding the almond mixture in with the meringue, the meringue was so thick that my arms got pretty tired. I took this as a good sign. Also, be careful not to over-mix the batter. Like I said, look for a wet cement-like consistency.
After incorporating the flour mixture into the batter, it's placed in a pastry bag with a 1/2 inch tip and piped out into 3/4 inch circles onto parchment paper. There were large peaks left in the circles after I piped, but as the batter expanded a little on the sheet, the peaks disappeared. If they don't, your batter may need more folding. You can also tap the bottom of the baking sheet on the counter to help release air bubbles and to encourage the peaks to disappear as well. I think I tapped the pans too many times and may have over mixed the batter as well, but they still turned out fine.
After the batter is piped out, you need to wait 15 minutes for a thin film to develop over the macarons. The tops of the macarons should be dry to the touch when they're ready to be put in the oven. Mine were very slightly sticky, but I could touch them gently and they wouldn't leave any batter on my fingers. I let them sit for 20 minutes before this happened. (This in itself was a success, my first batch never formed a skin!)
Baking the macarons at the proper temperature and for the proper amount of time is also important. Sorry if I'm stating the obvious. It is recommended to bake the macarons on two stacked baking sheets to help them bake more evenly. I used two air bake baking sheets and the macarons took twice as long to bake. In retrospect I could have used just one of my sheets since I think an air bake sheet automatically helps things to bake more evenly. So, one air bake sheet equals two regular baking sheets stacked? I will have to test this theory further...
The recipe suggests baking the macarons for 10 minutes. And rotating the pans after 5. After five minutes I checked the macarons and they looked uniform, so I did not rotate the pans. Though I was concerned because the foot should be formed after five minutes. Only a few had formed some minuscule feet. After ten minutes however, they looked beautiful! They were not perfect by any means, but they all had good feet on them, they were smooth enough and hard to the touch. I figured they were done so I took them out to cool and shut off the oven. However when I tried to peel the macarons off the parchment paper, the crispy top came right off the bottom, which was very moist and stuck to the paper. I figured they needed more baking. I turned the oven back on and cooked them for ten more minutes. Checking every five to make sure they weren't burning. After the first five minutes, a strange thing happened. The macarons grew another foot. Literally they were taller and they had grown another ruffle-like border. (You can see this if you look carefully at the first picture.) I took this to mean that they still needed more baking time. Five minutes after that, they were done. After cooling for a few minutes, they came off much easier from the parchment paper. Though some still stuck, and from the last picture you can see they didn't come off cleanly. Perhaps I should have let them cool completely before removing.
After the macarons were cooled, I used some regular seedless raspberry jam as the filling. I decided to leave my experiments with butter creams and other fillings for after I had successfully made one batch of macarons. I thought the jam was too sweet, the macarons by themselves are almost too sweet too. At least if you eat a few at once. ;) And the jam didn't hold up as a filling that well. It was too runny.
After taking some pictures of my macarons, it was time to eat one. It was the moment I had been waiting for. And as I bit into the crisp, yet sweetly chewy cookie, I for one second felt a rush of pure satisfaction. I couldn't believe I had actually made these! Then, cutting my moment short, some jam spilled out the other end and landed on my lap...Apparently jam is not solid/firm enough to withstand the pressure of a bite. At least right away. Later when Brian came home, he had no problems with the jam.
All in all, I am very pleased with the results and look forward to trying new macaron flavors as well as exploring different types of fillings. I will have at least one more part to this French macaron series.
Here is the recipe I used:
http://www.marthastewart.com/recipe/french-macaroons
Here are some helpful websites as well:
http://notsohumblepie.blogspot.com/2010/02/macaron-101-italian-meringue-part-1.html
http://www.davidlebovitz.com/archives/2008/09/making_french_macarons.html
http://www.syrupandtang.com/200712/la-macaronicite-1-an-introduction-to-the-macaron/
The book I Heart Macarons by Hisako Ogita was also very helpful.

congrats amanda! glad they turned out; looks great :)
ReplyDeleteThanks Karlyn! :)
ReplyDelete