Thursday, August 5, 2010

Le Croque Monsieur


No, this is not an ad for Grey Poupon mustard. Yes, it is an attempt by me to explore some simple French recipes. Explanation: I will be taking a trip to Paris this September and I thought it would be fun to try out a French recipe or two. Plus, I saw someone make a croque monsieur in a movie and it looked really delicious!

What is a croque monsieur? It's basically a French version of the grilled cheese sandwich.

Well, the recipe I used was pretty simple and very tasty. At least according to Brian's endless compliments at the table. (I'm beginning to think he likes everything I make...) I thought it tasted good, but have a hard time critiquing my own food. But the recipe was rated well and I must say, it was fun to just try something new and make a nice dinner out of it. Brian, picked up a bottle of wine and a small cake for dessert. Add a simple spinach salad and we were good to go. By the way, Brian got a merlot to go with the sandwiches, but a chardonnay or bordeaux would have been better. Who knew? We looked it up later. Brian picked the wine because it had a red bike on the label. LOL!

Ok, enough about bikes and wine. So, I made a few adjustments to the recipe. I used French bread and kept the crust on. Which makes it nice and crunchy on the edges. I really like crunchy food. :} The better the quality of bread you use, the better it will turn out. I also divided the recipe in half since it was only for two, and gruyere is not cheap. And two adjustments I would add, is don't add salt to the sauce. The ham and cheeses are salty enough on their own. This recipe calls for one slice of ham, but I had a hard time tasting it sometimes. I would probably add two next time.

This recipe is not a baking recipe, though you do use the oven. Why did I include this in my blog? First, I feel it was hard enough to merit one post. While it was simple, the recipe included making a bechamel sauce. (Probably why it's rated as intermediate.) And any recipes that include "whisk over heat until sauce thickens" are my nemesis.

Second, a baking blog, though full of many possibilities, is also limited to just baking. So I have been thinking of expanding the horizons of this blog with cooking and other topics. We'll see how this goes.

Well, if anyone uses this recipe, please let me know how it turns out. And if you need it, yes, I can pass the Grey Poupon.

http://www.foodnetwork.com/recipes/ina-garten/croque-monsieur-recipe/index.html

Thursday, July 1, 2010

Currant Scones and Lemon Curd


I recently went to Elizabeth and Alexander's English Tea Room, where I fell in love with their currant scones and lemon curd. (First Picture). Since my first afternoon tea at the Empress in Victoria B.C., I've been smitten with tea parties and foods. Being in the baking mood recently, I wanted to add recipes for scones and curd to my tea party repetoire.

So, I went online to find some recipes. The lemon curd turned out good, though a bit runny. The scones, while flavorful, and fragrant, were not exactly what I wanted. (No kidding, right?) And they came out cracked and dry. Compare the scones in the second picture to the first. Probably not enough kneading and cream. After all the anticipation, everything tasted good. But did not satisfy my craving for E&A's scones. (Though I will keep that scone recipe.) However, I found out later that E&A's sell their currant scone mix and lemon curd online. So, should I develop another hankering for them, I'll be set, without the extra effort.

One thing I learned recently is what a "cream tea" is. It was on the menu at E&A's. A cream tea, as opposed to an afternoon or high tea, only consists of tea, scones, jam and clotted cream. It is only available in certain parts of England, like the north. Also, you'll probably only find it at English style tea houses in the U.S.

Monday, June 28, 2010

The Simplicity of a Bran Muffin


Life is busy. No matter who you are, there are things to do, places to go and sights to see. Due to my interests, goals, and commitments, I have been trying lately to simplify my life. And due to family illnesses, Brian and I have also been trying to incorporate more wholesome foods into our diet.

Lately I had been craving bran muffins. Yes, me and my cravings...So, being the baker I am, and also finding myself with extra free time, I decided to make my own. I have been avoiding complicated recipes lately and have been baking simply to enjoy the comfort foods that will ensue. The muffins were a perfect walk in the park. All the ingredients were easy to find, and the recipe had no special requests. The whole time I was baking, I dreamt of incorporating these muffins into daily breakfasts or healthy afternoon snacks. And I couldn't wait to taste them. Well, when they were finished, they were bland. And first off, they were not as dark as other bran muffins I have seen. But, with some added butter, and time, I came to really enjoy them. (And get used to muffins without a ton of added sugar.) And Brian wouldn't stop raving about them as well. But come on, they're just bran muffins right?

It wasn't until I had made my second batch, (upon Brian's request), that I realized the charm of the bran muffin. Not only are they full of wholesome goodness, and are healthier to eat than blueberry, poppyseed, etc. other muffins. But they surrounded me with a feeling of security and nostalgia. They brought me back to simpler times. When Brian and I would stand in his mom's kitchen and eat buttered rolls from the table after school. Back when all we worried about was our next test, or what we would do on the weekend.

All of this in a muffin?

Well, of course as life goes on, it also gets more complicated. But I think that's also part of the charm. To be able to spend a quiet moment in time, with a simple muffin.

http://allrecipes.com//Recipe/classic-bran-muffins/Detail.aspx

Sunday, May 23, 2010

Chocolate Pretzel Brownies


My latest obsession has been with the chocolate pretzel cupcake at Trophy Cupcakes. I had it several weeks ago and it was delicious. It was sweet and salty, rich and crunchy. So many things that I love. By the way, if you're into chocolate covered pretzels, Trader Joe's has some good dark chocolate ones and if you like white chocolate, the Flipz brand is good too.

So, I've been craving this chocolate pretzel cupcake. And it took me awhile to realize they only sell them on Sundays. So, you can imagine the patience I endured before I could have another one. While I was dreaming about our next encounter, I thought, why not make one myself? I just needed a good chocolate cupcake and chocolate frosting recipe, and of course some pretzels. I wanted to find a rich chocolate cake recipe, so the cupcake wouldn't be overpowered by the saltiness of the pretzel. I also wanted a creamy, chocolate ganache frosting to make things a little sweeter and hold everything together.

Being pretty busy the past few weeks, I didn't have time to find any recipes, but decided a brownie mix would do the job. As well as some store-bought chocolate frosting. So I invented my first unofficial recipe for Chocolate Pretzel Brownies.

My first batch came out good, but not salty enough. I simply made the brownies, lightly frosted them in the pan, and individually took each brownie and lightly cracked some pretzels over the top. My next batch turned out better. I crushed the pretzels more. (This time I used a freezer bag and my meat tenderizer/mallet.) And the topping looked a lot more like the pretzel topping on the Trophy cupcake. I think crushing the pretzels more, created smaller particles that could cling to the frosting and coat the brownie better. And those smaller particles also included more salt. I also added all the pretzels at once in a layer in the pan. This made it much faster to cut and serve.

Note: I could have used more frosting to get more pretzels to stick to the top. (Most of the bigger pieces fell off.) And sift out some of the powder that formed through the crushing, so there is a more diverse mixture of pretzel piece sizes. The powder stuck directly to the frosting and created its own non-sticky layer. (Another reason the bigger pieces fell off.) Lastly, you can make the brownies ahead of time, but don't crush the pretzel pieces till the day you're going to serve them or they will become stale and less crunchy. And I would wait to frost the brownies till right before you add the pretzels as well.

Monday, April 19, 2010

Operation Pancake


You may be wondering why I chose the title, "Operation Pancake." I mean, pancakes are easy. An alternate title could be, "Operation Cruise Breakfast." Let me explain. Everybody loves pancakes. Everyone, except me. I can't eat them. The mere thought of them, makes me cringe. I owe this all to my dad actually. When I was younger, there was a time when he used to make them for breakfast almost every morning. Either that or oatmeal. There are only so many pancakes that I, as a young girl could take. I know, I'm weird. Most kids would be happy with pancakes every morning. But years later, I avoid them if I can. If I'm at home and my dad is making them, I'll eat one or two tiny ones. So, for me to make pancakes is a Big Deal.

Needless to say, I've never made my own pancakes before. Why now? Last week I was fortunate enough to go on a cruise. However, it was not a romantic cruise with my husband, but it was with my parents and aunt. Brian couldn't come. While I was away, I ate more food than I want to admit and had a wonderful, relaxing time. Brian meanwhile, was hard at work. Not fair right? So upon arriving home, I decided I would bring a little of my vacation to him. I'd do all the cooking and cleaning. And he wouldn't have to lift a finger at home for the next few days.

Something that Brian really loves is having a big breakfast on weekends. Normally we don't. If we do, he'll usually make it. One of the things that cruise ships do very well, is the food. There's buffets, 24 hour room service, formal dinners, etc. And it's all delicious. For Brian, I wanted to recreate the breakfast buffet. And, because HE likes pancakes, I wanted to make some. Therefore, "Operation Pancake" was born, AKA "Operation Cruise Breakfast".

Now, like I said before, pancakes are simple to make. I've been frying and flipping them for years. (I always take over when I'm home so the pancakes don't turn out too big or burnt. My dad likes big portions and always multi-tasks when cooking.) Making the batter is easy and requires no special equipment. And as long as you're familiar with the heat settings of your stove, you can avoid burning them, usually. The tricky part though, is avoiding burning while you're cooking and preparing other things at the same time. Multi-tasking, I need to get better at this. I was making eggs, hash browns, sausage and fruit and trying to set the table, etc. And my first batch did burn. For those who have never made pancakes, there is a trick to deciding when to flip them. When the batter is bubbly, and the pancake is no longer sticking to the pan, it's ready. Pretty simple right? And you can determine how light or dark you like them. The recipe, which I found on allrecipes.com was fantastic. (It is attached at the end.) The pancakes turned out light and fluffy. So much so, that I ate one and a half. Woohoo!

A finishing touch was the silverware rolled up in linen napkins and some bright, happy flowers. After breakfast, I asked Brian if he was full. (Full because there was so much good food and he wanted to eat it all.) He said "yes". Mission accomplished!

http://allrecipes.com/Recipe/Good-Old-Fashioned-Pancakes/Detail.aspx

Friday, April 2, 2010

French Macarons: Part 2 Some Real Macarons


So, after much research and thought, (and with the right recipe), the French macaron is not too difficult after all. At least, if you're not a perfectionist. My macarons did not turn out perfect, but for being my second try, I was happy with the results.

So, what changed my results from a flat frisbee, to a plump, ruffle-footed macaron? (See French Macarons: Part 1.) Here is my process of making the second batch and some things that I have learned while researching this cookie.

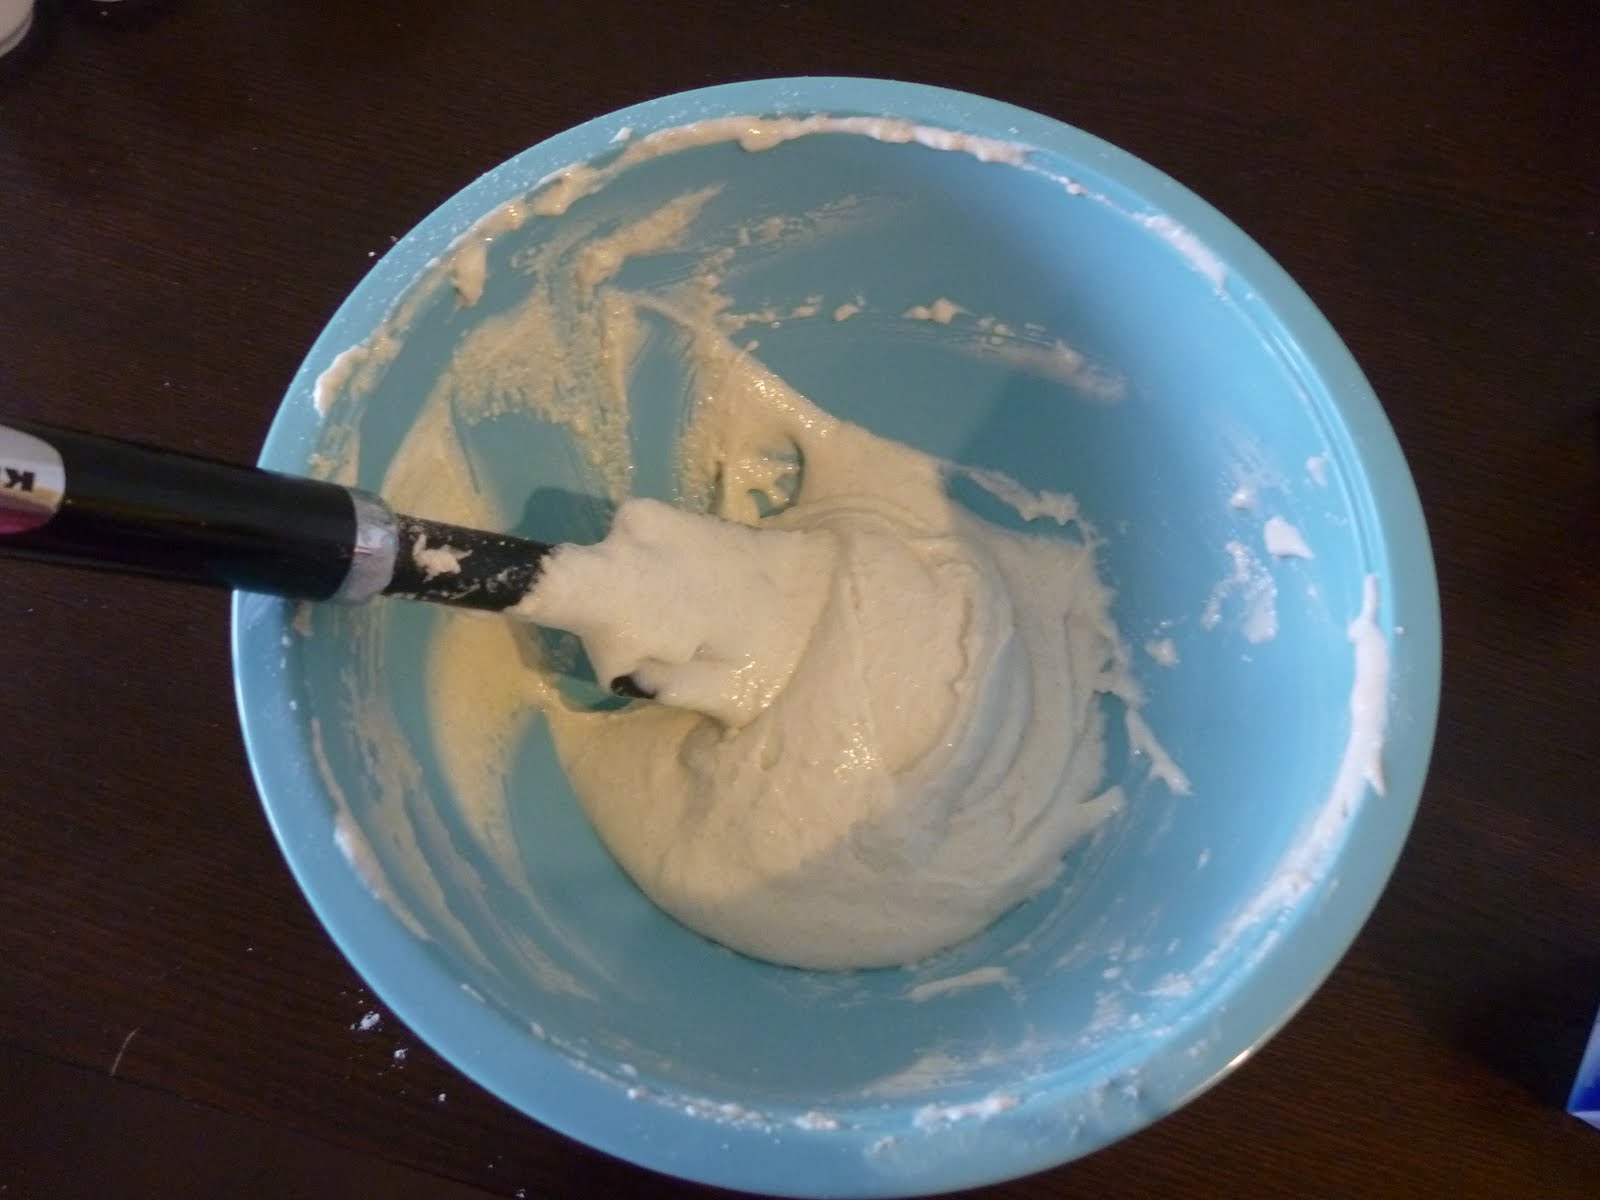
First off, I used an entirely different recipe. The first recipe, had you mix a wet almond flour mixture with the meringue. The second recipe I used, had you mix a dry almond flour mixture with the meringue. For some reason the dry mixture worked better. And I pulsed it in my food processor till the powdered sugar and almond flour became more uniform. This definitely helped make the batter more smooth. The recipe I used this time was from Martha Stewart in her January 2009 Magazine, which is attached at the end. This recipe worked out well because it gave better guidelines on how to whisk the meringue and what to look for. Though the timing was off, (I didn't need to beat the meringue for 8 minutes for it to become stiff and glossy) her directions helped me to get a much better meringue. The last time I made meringue, it was too weak. Which ruined the batter by making it very runny. The batter, once the flour mixture is incorporated, should be more of a wet cement, magma-like texture. It should coat the spatula thickly and flow off of it in a thick ribbon. The first time, the batter ran straight out of my pastry bag and tip and made it very hard to pipe out consistently. (Compare picture of piped batter with Part 1.) I had to pipe it out in spirals like a cream puff, instead of making large, circular dollops. So, the consistency of your meringue is very important to your success. Note: 1) Using older eggs and letting them sit unrefrigerated for a couple days should make a better meringue. I used two-week-old eggs that I had left out for two days. The meringue turned out great. 2)while folding the almond mixture in with the meringue, the meringue was so thick that my arms got pretty tired. I took this as a good sign. Also, be careful not to over-mix the batter. Like I said, look for a wet cement-like consistency.

After incorporating the flour mixture into the batter, it's placed in a pastry bag with a 1/2 inch tip and piped out into 3/4 inch circles onto parchment paper. There were large peaks left in the circles after I piped, but as the batter expanded a little on the sheet, the peaks disappeared. If they don't, your batter may need more folding. You can also tap the bottom of the baking sheet on the counter to help release air bubbles and to encourage the peaks to disappear as well. I think I tapped the pans too many times and may have over mixed the batter as well, but they still turned out fine.

After the batter is piped out, you need to wait 15 minutes for a thin film to develop over the macarons. The tops of the macarons should be dry to the touch when they're ready to be put in the oven. Mine were very slightly sticky, but I could touch them gently and they wouldn't leave any batter on my fingers. I let them sit for 20 minutes before this happened. (This in itself was a success, my first batch never formed a skin!)

Baking the macarons at the proper temperature and for the proper amount of time is also important. Sorry if I'm stating the obvious. It is recommended to bake the macarons on two stacked baking sheets to help them bake more evenly. I used two air bake baking sheets and the macarons took twice as long to bake. In retrospect I could have used just one of my sheets since I think an air bake sheet automatically helps things to bake more evenly. So, one air bake sheet equals two regular baking sheets stacked? I will have to test this theory further...

The recipe suggests baking the macarons for 10 minutes. And rotating the pans after 5. After five minutes I checked the macarons and they looked uniform, so I did not rotate the pans. Though I was concerned because the foot should be formed after five minutes. Only a few had formed some minuscule feet. After ten minutes however, they looked beautiful! They were not perfect by any means, but they all had good feet on them, they were smooth enough and hard to the touch. I figured they were done so I took them out to cool and shut off the oven. However when I tried to peel the macarons off the parchment paper, the crispy top came right off the bottom, which was very moist and stuck to the paper. I figured they needed more baking. I turned the oven back on and cooked them for ten more minutes. Checking every five to make sure they weren't burning. After the first five minutes, a strange thing happened. The macarons grew another foot. Literally they were taller and they had grown another ruffle-like border. (You can see this if you look carefully at the first picture.) I took this to mean that they still needed more baking time. Five minutes after that, they were done. After cooling for a few minutes, they came off much easier from the parchment paper. Though some still stuck, and from the last picture you can see they didn't come off cleanly. Perhaps I should have let them cool completely before removing.

After the macarons were cooled, I used some regular seedless raspberry jam as the filling. I decided to leave my experiments with butter creams and other fillings for after I had successfully made one batch of macarons. I thought the jam was too sweet, the macarons by themselves are almost too sweet too. At least if you eat a few at once. ;) And the jam didn't hold up as a filling that well. It was too runny.

After taking some pictures of my macarons, it was time to eat one. It was the moment I had been waiting for. And as I bit into the crisp, yet sweetly chewy cookie, I for one second felt a rush of pure satisfaction. I couldn't believe I had actually made these! Then, cutting my moment short, some jam spilled out the other end and landed on my lap...Apparently jam is not solid/firm enough to withstand the pressure of a bite. At least right away. Later when Brian came home, he had no problems with the jam.

All in all, I am very pleased with the results and look forward to trying new macaron flavors as well as exploring different types of fillings. I will have at least one more part to this French macaron series.

Here is the recipe I used:
http://www.marthastewart.com/recipe/french-macaroons

Here are some helpful websites as well:
http://notsohumblepie.blogspot.com/2010/02/macaron-101-italian-meringue-part-1.html
http://www.davidlebovitz.com/archives/2008/09/making_french_macarons.html
http://www.syrupandtang.com/200712/la-macaronicite-1-an-introduction-to-the-macaron/
The book I Heart Macarons by Hisako Ogita was also very helpful.

Saturday, March 27, 2010

Meyer Lemon Crepe Cake


Lately I've been a cravin' crepes. It all started when I went to the Mobile Chowdown with some friends. We spent plenty of time standing in lines for various foods and I was planning on ending our food excursion on a sweet note. I had been eyeing the crepe stand for awhile. Well, needless to say, I didn't get any. Right around the same time, I got my monthly Martha Stewart magazine in the mail and right on the cover was a mouthwatering crepe cake. After perusing the recipe over and over, I decided to just go for it. How else was I going to get my stinkin' crepes?

The ingredient list was doable. The only item I felt iffy about were the Meyer lemons. But I figured the Fred Meyer's by my place would have them. Well, they didn't. What? Fred Meyer doesn't have Meyer lemons??!!! Get it? Ok, bad joke. Fortunately the knowledgeable produce guy knew where I could get them. If I went up the street, there was a Mediterranean market within "walking distance" that had them on sale. Excellent! After purchasing the rest of my groceries, I proceeded to walk aimlessly up the street, with my heavy bag in hand. I later learned that within "walking distance" actually meant "seven blocks", the area I was walking was not safe, and yes, I should have gone to the bathroom before I left. It also didn't help that my groceries were becoming increasingly heavy and that I had to locate the address of the Mediterranean market on my phone with my free hand covertly inside my purse. When I finally got to the market though, the staff were very friendly and I was able to at last purchase my precious Meyer lemons.

What is a Meyer lemon? It is a cross between a lemon and a mandarin orange. They are known for being sweeter than other lemons. They also have a rounder shape, which I think makes them adorable.

Sorry for the long narrative, now to the baking part.

To make the crepe cake you need to make a lemon curd mousse and you need to make crepes. While making the curd, you add the ingredients and whisk them continuously for ten minutes over medium-low heat. When the mixture is thick enough to coat the back of a wooden spoon, it is ready for the next step. It took me 20 minutes before the curd thickened. I was literally about to give up when it did this. Note: I think the mixture had to heat up sufficiently before it would thicken. I have an old stove range, so it took longer. But I kept on whisking. A light yellow bubbly layer formed on top and then slowly the whole thing became light yellow and bubbly and then it thickened pretty quickly. I was Sooooooooooooooooooooo happy to see that since I worked so hard to get the lemons. :)

Now, on to the crepes. I had never made crepes before either. So this whole recipe was a big learning experience for me. I used a regular non-stick frying pan for the crepes. My dad had pulled out an old, dusty crepe maker from the garage while I was home earlier that day. I had no idea he owned one. I was tempted to use it, and even tried it once, but gave up. I didn't have time to make another batch of batter if it didn't work out. So I stuck with my first plan. My first crepe turned out fragile and kind of moist. And was too sticky to be flipped. I realized I did not wait for the edges of the crepes to turn golden brown before flipping it over. The recommended 30 seconds per side from the recipe was not accurate. So I judged by watching the edges instead. After the edges became golden brown, I turned the pan upside-down over an overturned plate. When the crepe fell, I would place it back into the pan on the side that needed to be browned. Not very professional, but it got the job done. I also kept adjusting the temperature of the pan. Increasing and decreasing as necessary to keep the crepes from cooking too fast or slow. Note: be sure your crepe batter is cold before using.

After the curd had plenty of time to refrigerate, I was able to add some whipped cream to make it into a mousse. After that it was only a matter of stacking crepes and covering them with the mousse. Pretty simple. I learned much from making this crepe cake. And it was not too difficult. Though you need plenty of time to make this. I started the night before by leaving some eggs out to become room temperature. And then there's time needed to refrigerate the crepe batter and the curd. And also the mousse and then the actual cake once it is assembled. All in all, it turned out well. Though the taste was too rich for me, one piece was perfect.